Sunday 18 December 2016

Pikies and Muskies Alive, Alive, Oh ....

Got the mould for the musketeer and pikeman done, initial trial castings ..
unfortunately a bit of the mould broke off - the weak point in the musketeers arm gap - was expecting trouble with it but not after one casting, still have been able remove the blob using a hobby drill and make suitable repairs.

A session doing some casting for the first regiment yielded lots of useable figures plus some spares. In order to provide the command figures I converted 4 men walking figures I cast last week and used a spare Sash & Sabre officer.
 with 8 pikemen and 12 musketeers....

must get these painted ....


Thursday 15 December 2016

Sample man walking and janissary painted

Man walking given a pick - he'll join my 'working party' group
a janissary in a trial colour scheme
the pikeman and musketeer mould has just had the second half poured - waiting for it to cure - then I can do some trial castings.

Tuesday 6 December 2016

Sculpt & Cast - Man Walking and 'Janissary'

Making good progress, the next mould turned out well. First attempt left some bits missing off castings - end of sword sheaths and arms. So had to add some air vents to the mould ...
 second generation castings after air vents added - nice !
 the janissary figures start to gather to form a regiment (need a few more casting sessions to get 30 or so)
next mould will be pikeman and musketeer; the musketeer will be tricky - I like a challenge...

Sunday 4 December 2016

Sculpt & Cast - Man and Woman Standing

The next mould for these figures turned out well (used a high temp silicon mould kit), 7 of each casting to be cleaned up for use...
 two of the better castings
 a couple of the castings painted .....
they look much better than I expected.

Next mould will include man standing and a janissary of sorts (useable for 18C)

Tuesday 22 November 2016

Gent painted and other new additions ...

The figure I finished sculpted in the last post has now been painted - this chap will be one of Wittenberg's nobles - Count Boritzy.

 Some other figures painted up recently. A Drabant officer and Irregular Miniatures pirate
 A Drabant seargant, with Steve Barber Miniatures Cardinal ...

Sunday 20 November 2016

Gentlement Civilian - WIP

Before getting back to making a new mould  I decided to make something out of one of the castings from the first attempt mould, its good enough to be used as a starter for a special figure...
 after a few sessions with green stuff the result is this gentleman ...

an enjoyable bit of sculpting; will tidy up the figure a bit and then paint him up.

Friday 11 November 2016

Sculpt & Cast - 2nd attempt at casting ...

I added some air vents to the mould,  the next pour yielded much better figures,
well for my first attempt I've awarded myself 7 out of 10; quite nice to make your own figures; there is much to do to improve the mould making process - problems:

- air bubbles in the silicon after setting, appear on the back of the casting
    --> put figures in plasticene base and create first half of mould on top - the bubbles rise up !
- lack of detail in some places on the figures
    --> need to improve the edge detail on aspects of the figure masters
    --> brush some silicon onto the figures before pouring
- air vents to be added at mould making time if possible
- pouring reservoir shapes to be improved

Made some basic mistakes, but that's part of the learning process.  I have sold some stuff on Ebay recently, so will buy another silicon mould kit; we'll see how things go from there.


Thursday 10 November 2016

Sculpt & Cast ... first mould and initial results...

 hoorah ! a mould with two halve, masters came out easily
the first pour of metal - arm and leg problems - will add some air vents and see what happens.

Sunday 23 October 2016

'Porta-worktop' and mould list

Needing a suitable work surface for making moulds and casting I went for a rummage in the garage (the 'store room' at the bottom of the garden). I decided to use an old jigsaw puzzle board (about 50 years old), which I have used in the past for casting, and an old small square table top of similar vintage. The two have been joined together using some offcuts of contiboard.
on the rear is some old carpet tile, so that the back doesn't scratch the surface it rests on..
 the 'porta-worktop' set up in the garage resting on top of my G scale railway layout..
the garage is suitably equipped with a reasonably comfy chair, a little fan heater and a radio.

I now have an order list for the moulds, going from the 'simplest' to the more complex. Contents for each mould:
  • peasant woman + standing man
  • janissary + walking man
  • officer + ensign
  • drummer + seargent
  • pikeman + musketeer
  • mounted: officer + ensign
  • mounted: trooper + drover
  • horse

Sunday 9 October 2016

going mouldy (2) ... rework of mould enclosure ...

I made up a base plate with a raised center section to delineate the mould boundary ..
 the reworked enclosure, smaller sits snugly on the base plate ....
modified Lego cone sections form the pouring reservoirs, which will be attached to the figures ...
need to allow for secure air vent fitting and then I'll calculate the volume so I can work out how much mould compound I need to mix up.

Friday 7 October 2016

going mouldy ....

with all the figures having been tidied up and some initial changes made to assist with metal flow when casting I've starting looking at making the moulds. Initially I'll be using lego on a MDF base, first try ...
a bit large, so need some adjustments. Figures will be attached to pouring reservoirs and these will be fitted into the mould wall side where the Hibcahi skewers are currently

Wednesday 21 September 2016

Finished working on wagons ...

 continued from the previous post ....

building wagon 1 - the 3 horse team and covered wagon

The basic setup, drover conversion done and with the wagon floor in place...
wagon sides added using scribed cardboard, plus hoops for the cover made using florists wire
the cover added using brown curtain liner fabric , tricky but worth the effort

building wagon 2 - the Ox cart

wagon sides added using scribed cardboard...
I decided this would also be a covered wagon, so I added a bit to the ends and a pole to support the cover...
cover added ...

building wagon 3 - small open cart

I found a resin horse in Charity shop, just right for a chunky cart horse...
a bit of work needed to add the harness, plastic collar from a Brumm coach model and harness made using black insulation tape. The wagon started, lego wheels with a hibachi skewer axle.
usual cardboard floor and sides for the wagon added .....

all three finished off ....

all painted up and based up as needed


Wednesday 7 September 2016

started working on wagons ...

two new wagons are being worked on, firstly a1/48 ox cart from Pegasus (set 7005), swapped out the wheels and got it setup on a base
 secondly a Tally-Ho passenger coach kit, I'm using the horses and running gear; a three horse team for this one...
will be making the rest of the wagons structure using some cardboard.

Monday 22 August 2016

Defended Walled town and Attackers sieges line

Defended Walled Town

I did a trial setup using my existing scenics with a wide 'moat'
The 'moat' was a bit too wide, so I went with my ordinary river sections with some shelving offcuts covered in green fabric to give some depth. I made a new bridge - see this post on Wittenberg blog, the sections were designed to fit in with the walled town setup.  All in place .....
I can vary the town wall sections, so I can have towers and wall only.

The Siege Lines

continuing from a previous post,  'Working on some scenics - siege lines'

To fill the gaps in the siege line sections I used some wood filler and a pallet knife. To paint the sections I used a mid-brown for the earth and dark brown for the gabions
all finished and in position with a camp scene ..


Ready for use in future campaigns - as backdrops to story lines and games....

Thursday 18 August 2016

Men at rest and at work .... (some conversions)

Pegasus make some 1/48 plastic figures sets, I bought the  californian gold miners set

the figures are about 37mm tall, so just usable with 40mm. The poses are very good and I did some conversions to provide some figures for camps and work parties . The standing figures were placed on a some 2mm cardboard to get their height up a bit and then based.

The aim was to use as many figures as possible with minimal change,
- swapped all heads with Sash&Sabre ones
- removed some 'modern' detail
- altered the lower leg and footwear
- a bit of arm re-positioning
- some shirt collars added where needed

The finished conversions - two chaps to sit round a camp fire
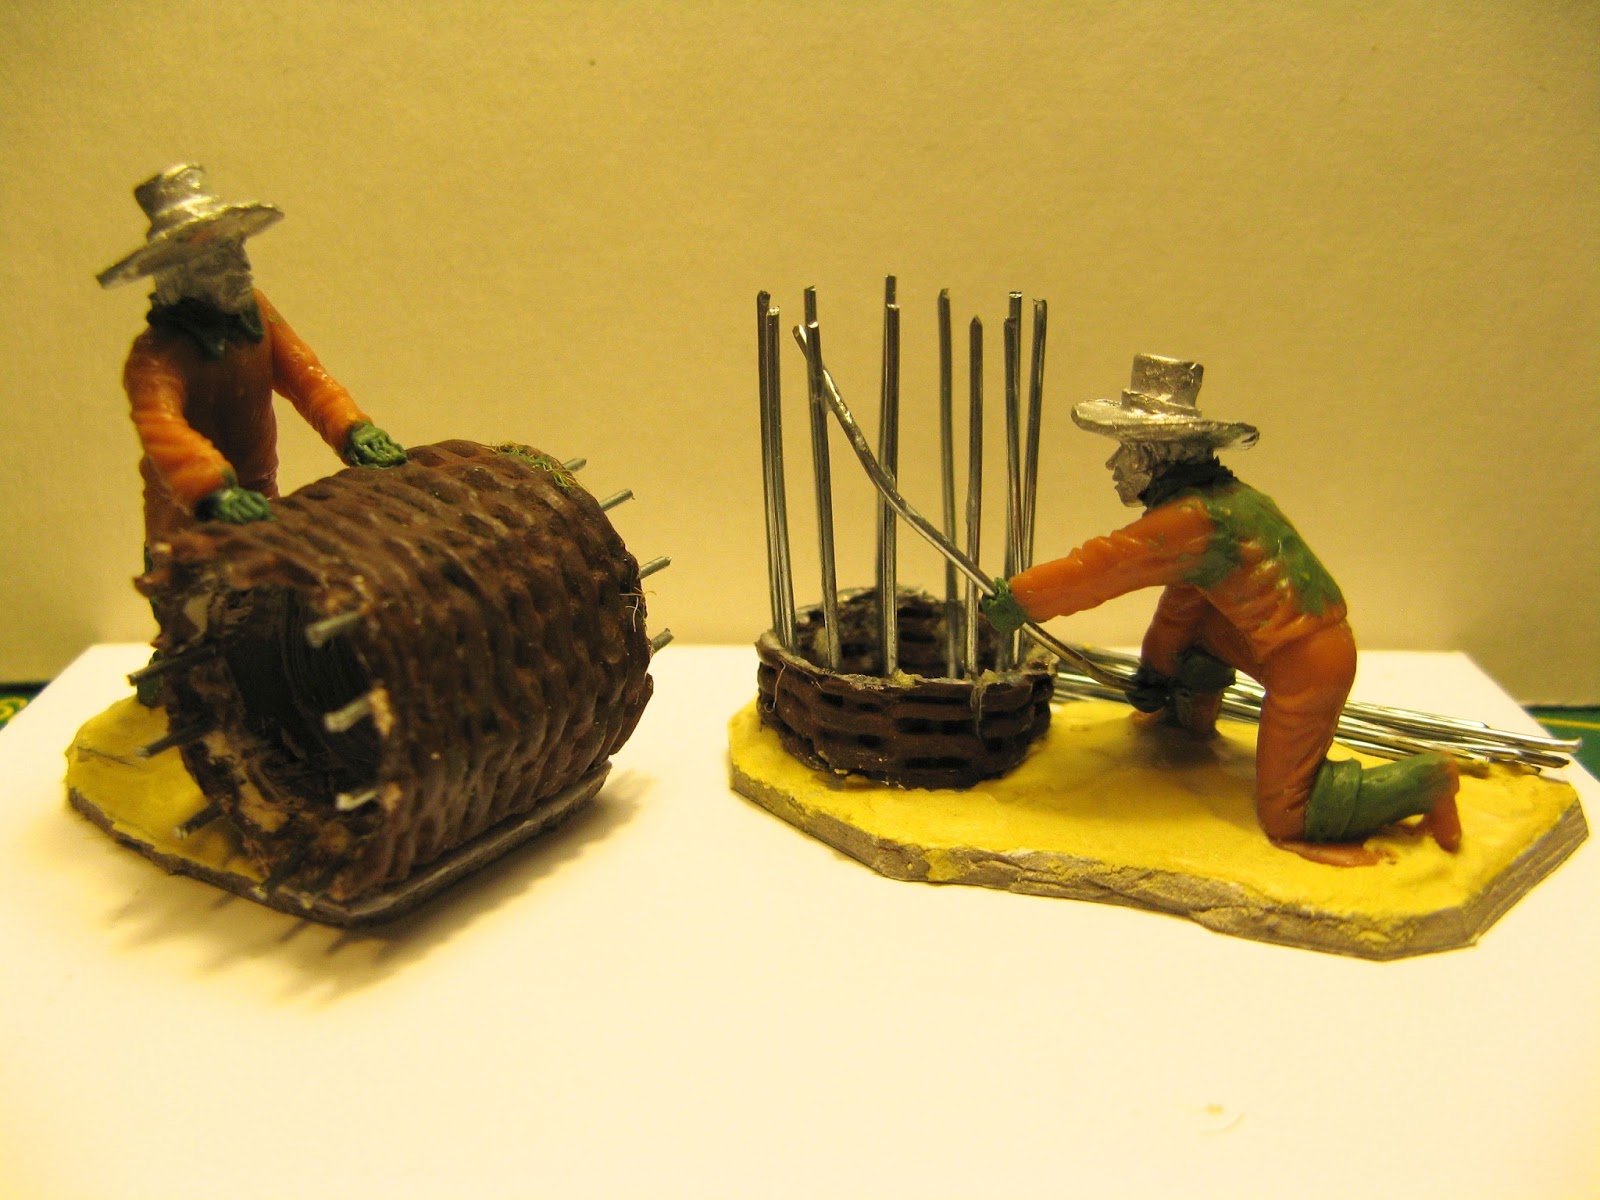
 Man rolling finished empty gabion (plastic Renedra one ), and man making a gabion...
 The standing figures, using the original poses

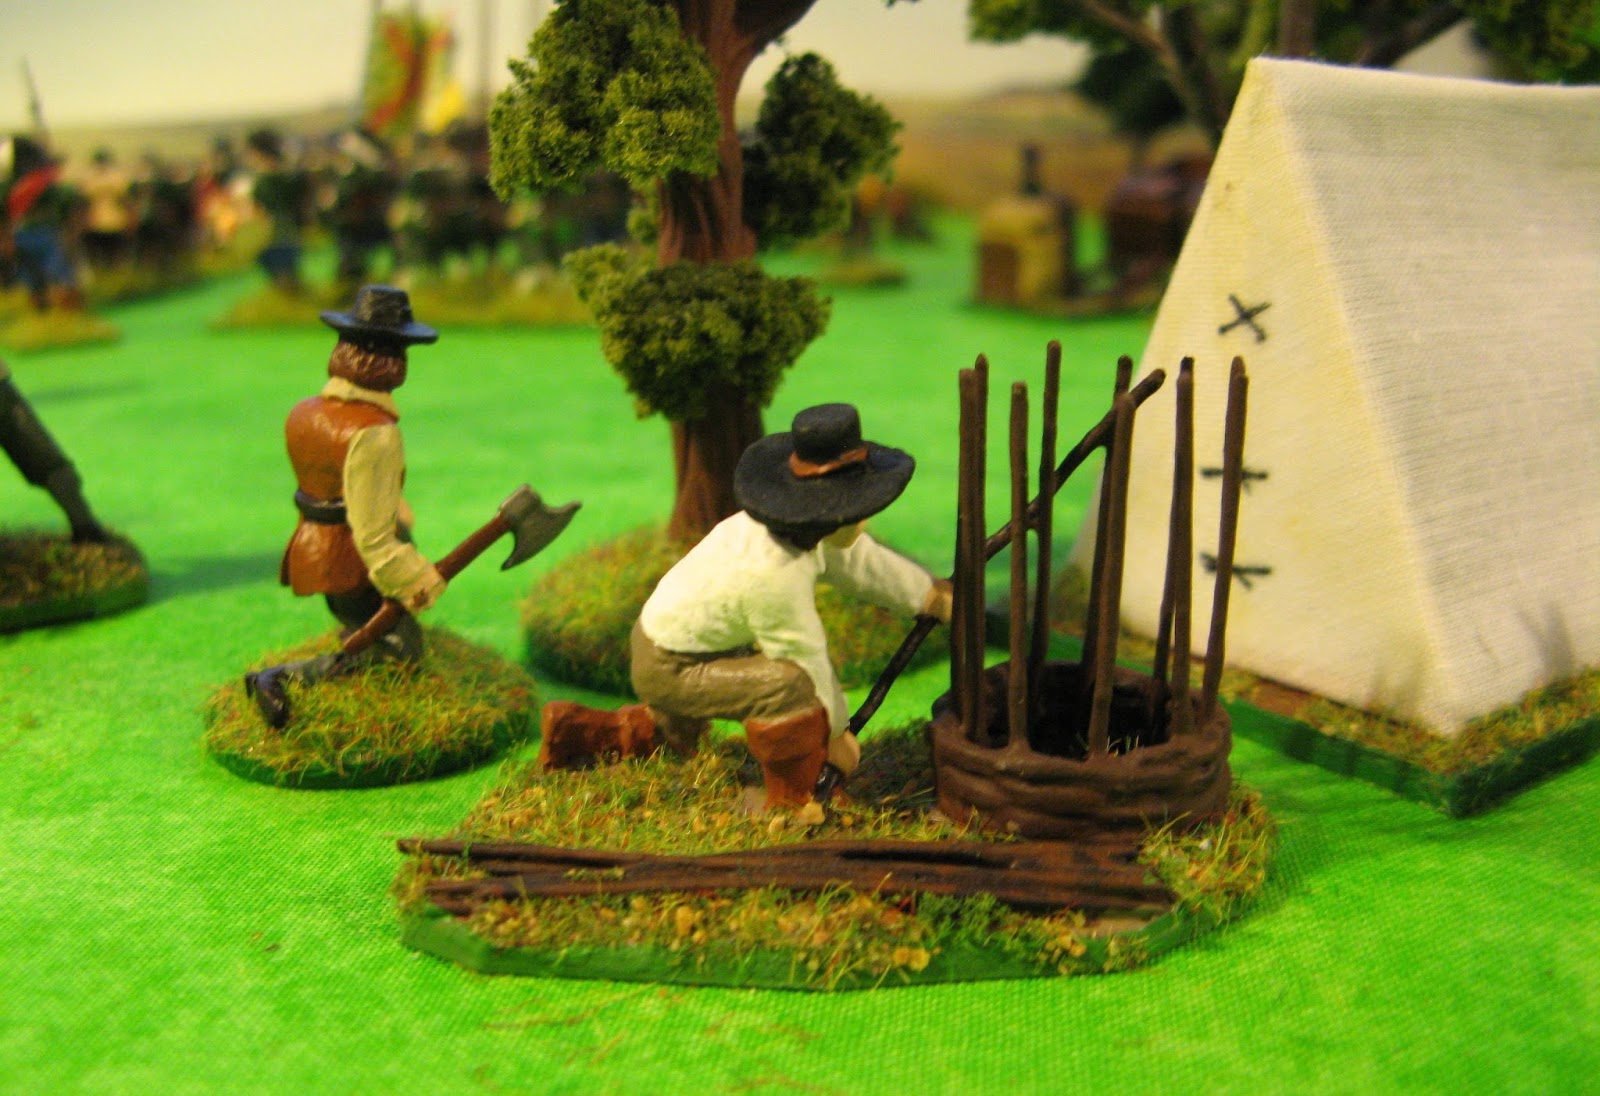
The figures finished off and painted ..